Implementing EasyInsights Custom Events is straightforward:
1. Configure Events in EasyInsights
- Access EasyInsights Dashboard: Log in to your EasyInsights account and navigate to EasyInsights settings.
- Enable Desired Events: Under the CAPI settings, ensure that the custom events you wish to track (e.g., “New Customer Purchase”) are enabled.
2. Approve Events in Meta Events Manager
- Wait for Event Data: Once EasyInsights starts sending custom events, they will appear in your Meta Events Manager like this.
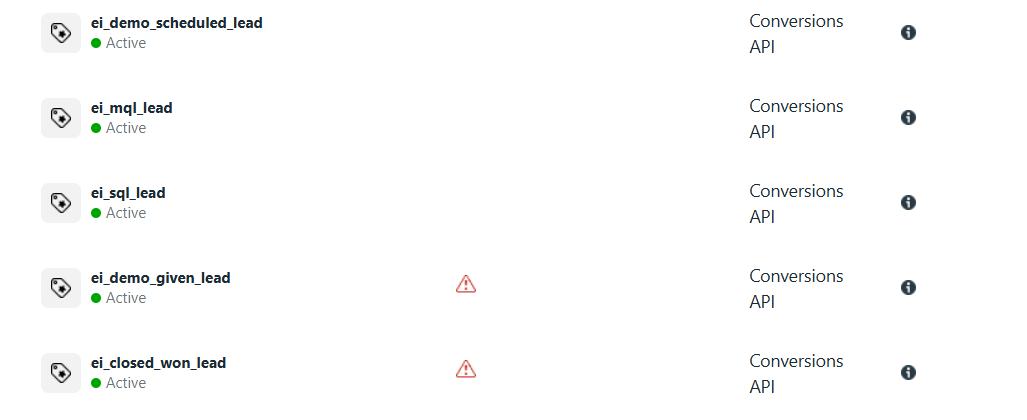
- Approve Events: In Meta Events Manager, locate the new custom events and approve them. Approval is necessary before these events can be used for campaign optimization.
How to Approve Custom Events in Meta
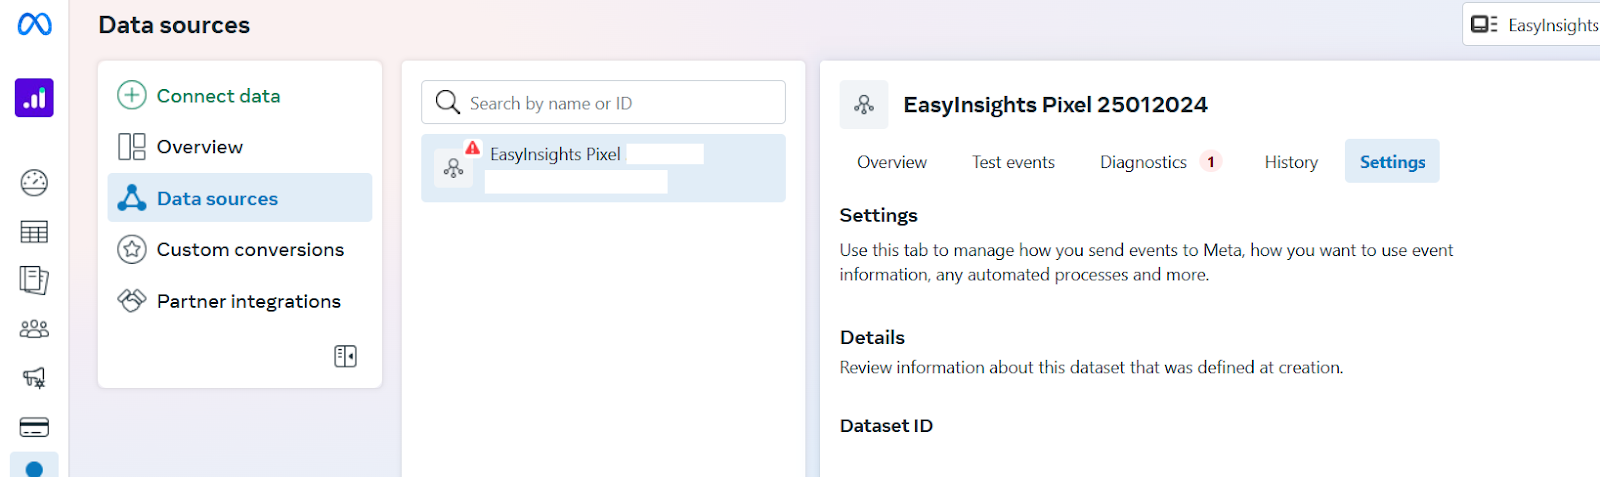
- Go to Meta Events Manager.
- Click the

 Data sources icon in the left menu of the page.
 - Select the name and ID of your data.
- Click the Settings tab at the top of the page.
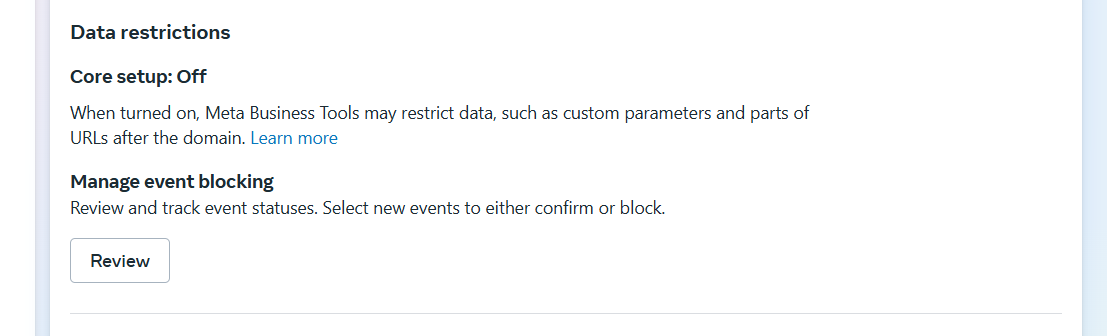
- Scroll down to Data restrictions.
- In the Manage custom event blocking section, click Review.
- In the Action required tab, select all the custom events you want to confirm or block. Note: You may not be able to confirm custom events that Meta has detected may contain potentially prohibited information.
- Click Next.
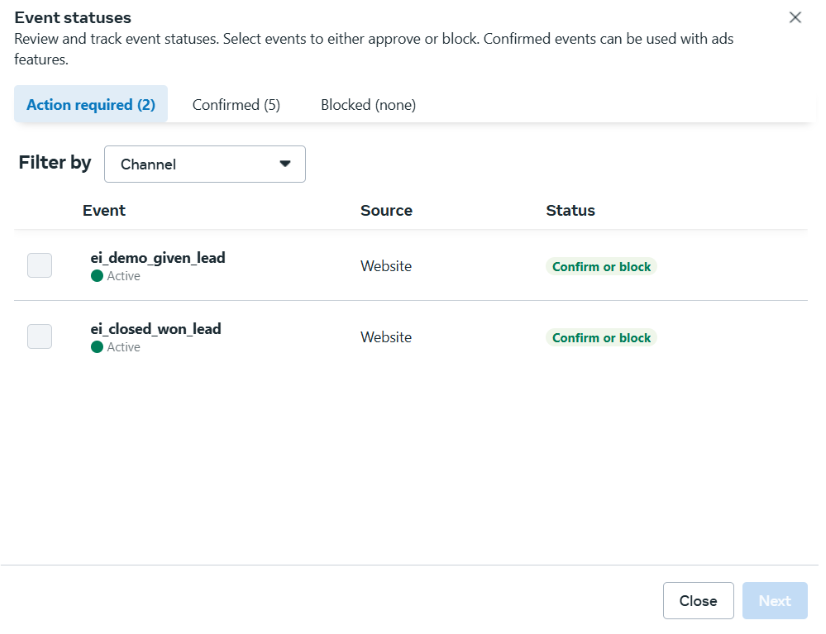
- Select Confirm the custom event or Block the custom event.
- Click Review. A message will appear on screen if you’ve successfully confirmed or blocked custom events.
- Click Done.