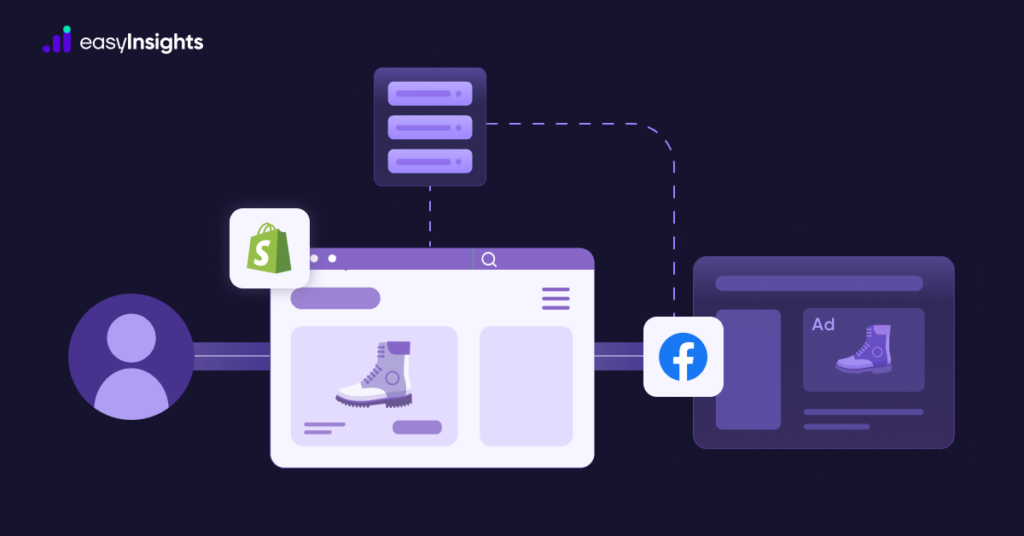
Facebook Conversion API, also known as CAPI, is a tool developed in response to browser-based tracking methods’ growing limitations and challenges. Increased privacy regulations, browser restrictions, and widespread use of ad blockers have compromised the accuracy and reliability of traditional tracking methods, such as the Meta Pixel.
CAPI addresses these challenges by enabling server-side data sharing, ensuring that businesses can continue to collect and utilize crucial customer interaction data to optimize their advertising campaigns effectively. This approach is a significant shift from traditional browser-based pixel tracking, offering a range of benefits that enhance data collection’s accuracy and privacy.
By setting up CAPI on your Shopify store, you can gain better insights into customer behavior, enhance your advertising strategies, and ultimately drive more sales. This guide will walk you through the process step-by-step.
Jump ahead to:
Understanding the Facebook Conversion API
Facebook’s Conversion API is a server-side tracking tool designed to work alongside the Meta Pixel. It allows businesses to transmit key customer interactions directly from their servers to Facebook. Think of CAPI as a secure communication link between your website and Facebook.
This enables the direct transfer of conversion data (such as purchases) to Facebook servers, circumventing any browser-related limitations. This method ensures more reliable and precise data collection, even when faced with browser restrictions and ad blockers. As a result, it enhances the effectiveness of advertising campaigns by reducing missed conversions and providing a clearer picture of what is working and what needs improvement in your ads.
Additional Reading: Facebook Conversions API ( CAPI ) – Comprehensive Guide for Performance Marketers
How to set up Facebook Conversions API for Shopify
The process involves preparing your Facebook Business account, integrating the Facebook channel on Shopify, enabling the Conversion API, and verifying and testing the setup to ensure everything is working correctly.
This comprehensive approach will help you leverage the full potential of CAPI. It provides a solid foundation for improving your ad targeting, tracking conversions more effectively, and gaining a deeper understanding of your customers’ journeys on your Shopify store. Here’s a step-by-step guide to get you started.
Step 1: Prepare Your Facebook Business Account
Before you can set up CAPI on your Shopify store, you need to ensure that your Facebook Business account is properly set up. This includes creating a Business Manager account and setting up a Facebook Pixel.
A. Create a Facebook Business Manager Account

If you don’t already have a Facebook Business Manager account, follow these steps:
- Go to Facebook Business Manager.
- Create an Account: Click on “Create Account” and follow the prompts to set up your Business Manager account. This will involve entering your business details and verifying your account via email.
B. Create Meta Pixel
If you haven’t yet set up a Facebook Pixel for your Shopify store, follow these steps:

- Connect Data Sources: In the Events Manager, click on “Connect Data Sources” and choose “Web.”
- Select “Facebook Pixel”: Follow the setup prompts. You’ll need to name your Pixel and add your website URL.
- Obtain Your Pixel ID: Once you complete the setup, you will receive a Pixel ID. Make sure to copy and save this ID as you will need it for the integration with Shopify.
Step 2: Install Meta Pixel on Shopify
Integrating your Facebook Pixel with Shopify involves adding your Pixel ID to your Shopify store. This is a straightforward process:
- Log in to Your Shopify Admin Panel: Access your Shopify admin panel by logging in with your credentials.
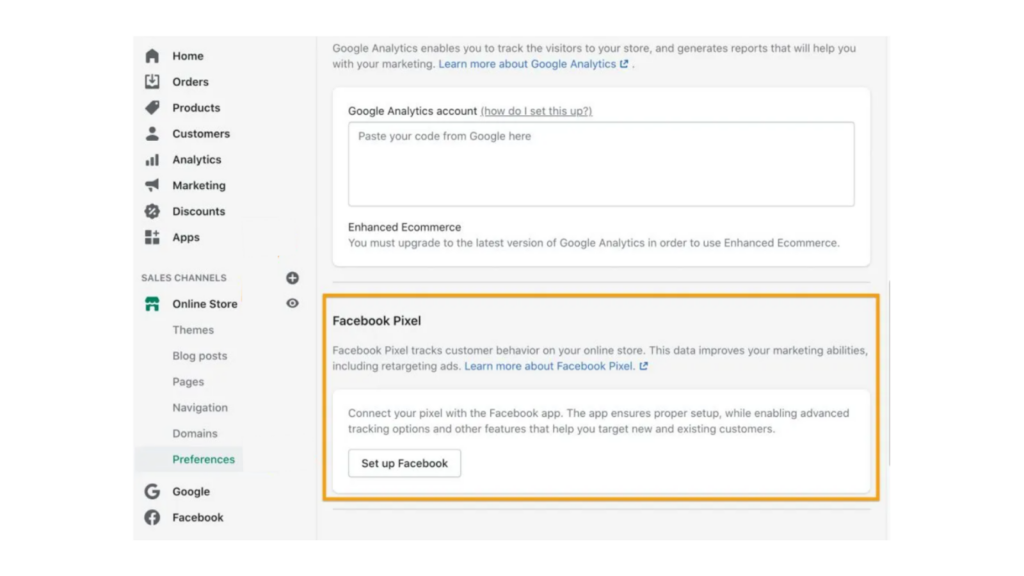
- Navigate to Preferences: Go to “Online Store” and click on “Preferences.”
- Enter Your Pixel ID: In the Facebook Pixel section, enter the Pixel ID you obtained in the previous step.
- Save Your Changes: Ensure that you save the changes to apply the integration.
This will allow Facebook to start tracking user interactions on your Shopify store, which is essential for the subsequent setup of the Conversion API.
Step 3: Set Up Facebook Conversions API ( CAPI )
Now, let’s set up the Facebook Conversion API for your Shopify store. This involves setting up server-side tracking to complement the client-side tracking done by the Pixel.
A. Select Your Pixel in the Events Manager
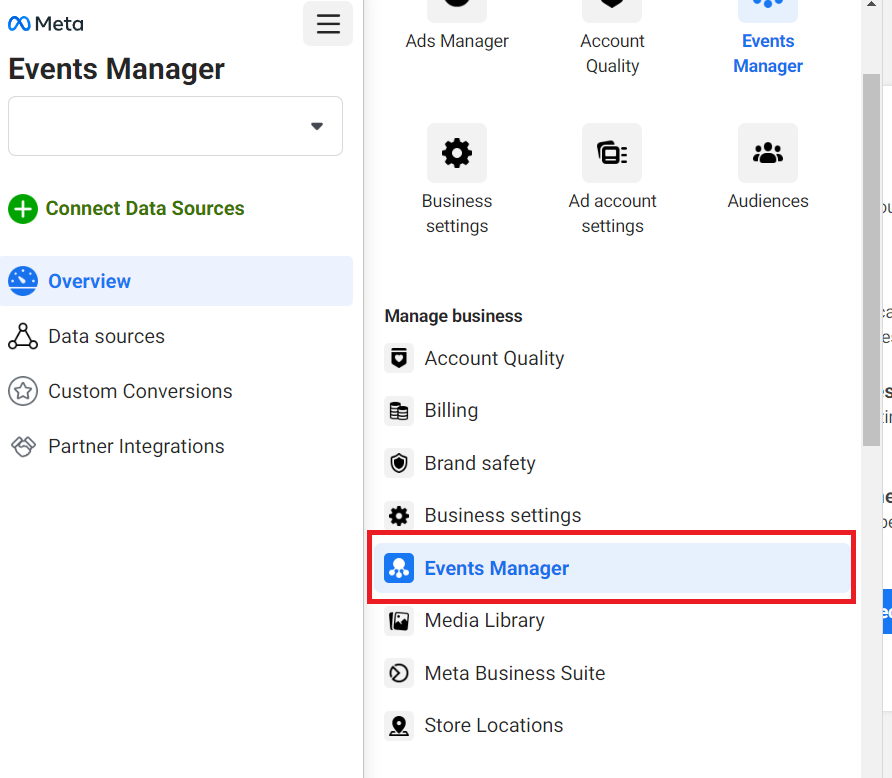
- Log in to Events Manager: Access your Facebook Events Manager.
- Go to Data Sources: Navigate to the “Data Sources” section and select the Pixel you created.
B. Access Aggregated Event Measurement
- Click on Aggregated Event Measurement: Within your selected Pixel, find the section labeled “Aggregated Event Measurement” and click on it.
C. Configure Web Events
- Select Configure Web Events: Click on “Configure Web Events.”
- Choose Events to Track: You will see a list of standard events. Choose the events you want to track. Common events include “Purchase,” “Add to Cart,” and “View Content.”
- Configure According to Goals: Configure these events according to your advertising goals. This might involve setting priorities or custom parameters.
Step 4: Generate Access Token
To activate the Facebook Conversions API ( CAPI ), you must generate an Access Token. This token is crucial for authenticating and sending server-side events to Facebook.
A. Generate Access Token
- Select Your Pixel in Data Sources: In the “Data Sources” section of your Events Manager, select your Pixel.
- Navigate to Settings: Go to the “Settings” tab within your Pixel.
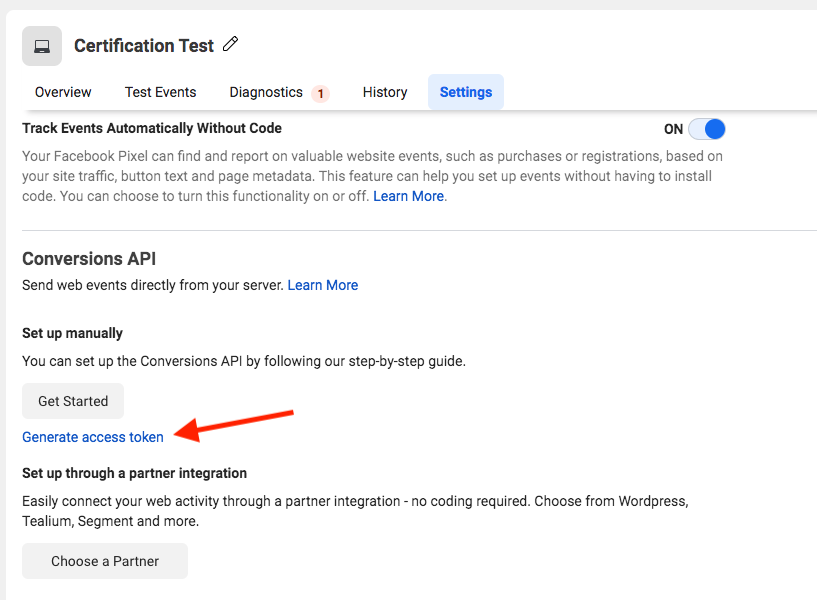
- Scroll to Access Token Section: Scroll down until you find the “Access Token” section.
- Generate Token: Click “Generate Access Token” and follow the prompts. Once generated, copy the token for later use.
Step 5: Implement the Access Token in Shopify
Now that you have your Access Token, you need to implement it in your Shopify store to enable server-side tracking.
A. Log in to the Shopify Admin Panel
- Access Your Shopify Admin Panel: Log in to your Shopify admin panel using your credentials.
B. Navigate to Facebook Channel Settings
- Go to Facebook Sales Channel: Navigate to “Sales Channels” > “Facebook” > “Settings.”
C. Enter the Access Token
- Find the Facebook Conversion API Section: Within the Facebook settings, locate the section for the Facebook Conversion API.
- Enter the Access Token: Paste the Access Token you generated earlier into the appropriate field.
- Save Your Changes: Ensure that you save the changes to apply the integration.
Step 6: Verify and Test the Setup
It’s crucial to ensure that your setup is working correctly. Verification and testing help identify any issues early on.
A. Verify Your Pixel
- Check Events Manager: Go to Facebook Events Manager and check if your Pixel is receiving data from your Shopify store.
- Look for Recorded Events: You should see events being recorded, indicating successful integration.
B. Test the Conversion API
- Use Facebook Pixel Helper: Use the Facebook Pixel Helper Chrome extension to check if both browser-side (Pixel) and server-side (Conversion API) events are being tracked.
- Verify Events Firing: The extension should show that events are being fired correctly.
Step 7: Monitor and Optimize
Once everything is set up, ongoing monitoring and optimization are key to maximizing the benefits of the Facebook Conversion API.
A. Monitor Performance
- Regularly Check Events Manager: Regularly check your Facebook Events Manager to monitor incoming data.
- Ensure Accurate Tracking: Ensure that all relevant events are being tracked accurately.
B. Optimize Ads
- Use Insights for Ad Targeting: Use the insights gained from the Conversion API to refine your Facebook ad targeting.
- Experiment with Ad Creatives: Experiment with different ad creatives and audiences to improve your campaign performance.
Common Issues and Troubleshooting
Despite careful setup, you may still face some issues. Here are common problems and their solutions:
- Pixel Not Firing: Ensure your Pixel ID is correct and that the Pixel is properly installed on your Shopify store.
- Data Mismatch: Compare data in Facebook Events Manager with your Shopify analytics to identify discrepancies. This can help pinpoint issues with event tracking.
- Ad Blockers Interference: While CAPI helps bypass ad blockers, it’s still essential to ensure that your Pixel is functioning correctly to capture as much data as possible.
In Conclusion
Setting up the Facebook Conversion API on your Shopify store enhances your tracking capabilities and improves your advertising strategies. By following the steps outlined in this guide, you can ensure accurate data collection, better understand customer behavior and drive more sales. Regularly monitor your setup and optimize your ad campaigns based on the insights you gain. With the Facebook Conversion API, you’ll be well-equipped to take your online marketing to the next level.
EasyInsights: Integrates Seamlessly with Shopify & Meta
For even deeper insights and better ad optimization, consider using EasyInsights. EasyInsights is a powerful analytics platform that integrates seamlessly with Shopify and Facebook, providing you with comprehensive data analysis and actionable insights.
Benefits of EasyInsights:
- Unified Dashboard: View all your data in one place, including Shopify sales, Facebook ads performance, and more.
- Advanced Analytics: Gain access to advanced analytics features that help you understand customer behavior and ad performance in greater detail.
- Automated Reports: Save time with automated reports that provide you with the information you need to make data-driven decisions.
How EasyInsights Can Help You:
- Optimize Ad Spend: Identify the most effective ad campaigns and optimize your budget for maximum ROI.
- Improve Customer Targeting: Use detailed customer insights to refine your targeting strategies and reach the right audience.
- Boost Sales: Leverage data-driven insights to enhance your marketing strategies and drive more sales.
Take your analytics to the next level with EasyInsights. Learn more about EasyInsights and book a demo today!